Do you know that your MAC has a special software with which you can record your MAC screen with high resolution and gives you many more features to record your screen or video using camera.
The default app which lets you do this is “QuickTime”. If you haven’t ever used screen recording feature of QuickTime player, then I bet after using this you will never use any other app to record your screen.
It is very useful because it gives you the ability to record your mouse pointer if you want to and record your voice through your iPhone or iPad’s microphone also. This tutorial might not work in older version of OS X. If you had upgraded your OS X to OS X Yosemite then this trick will work perfectly. So let’s get started.
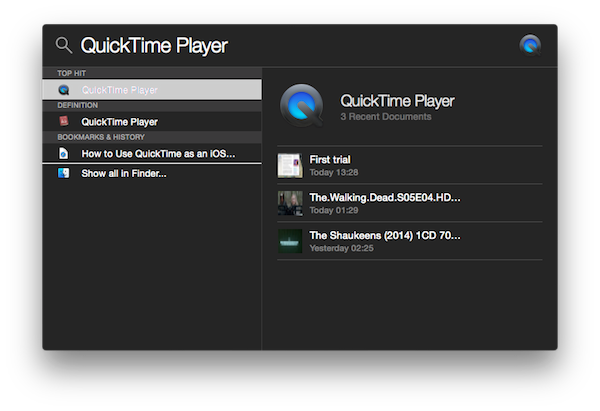
Step 1: Start QuickTime player. Use Spotlight search by (+Space Bar) to be quick if you are using full screen app.
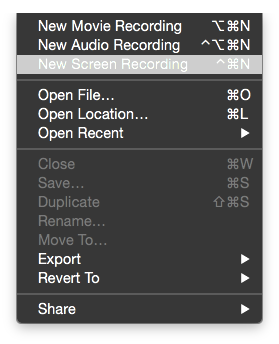
Step 2: Navigate to File>Start Screen Recording.
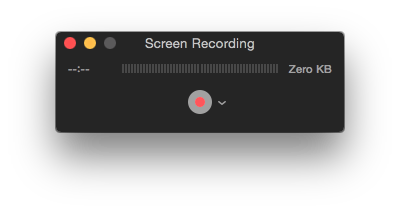
Step 3: Now Click on the red button to get started.
Step 3: Click on the Information which pops up in the centre of your screen.

Step 4: If you want to record specific part of your screen then Drag to make a square area to record the activities.

Step 5: When you want to stop recording, just click on the stop button in menu bar. Button looks like a square in one circular outline as shown below.
![]()
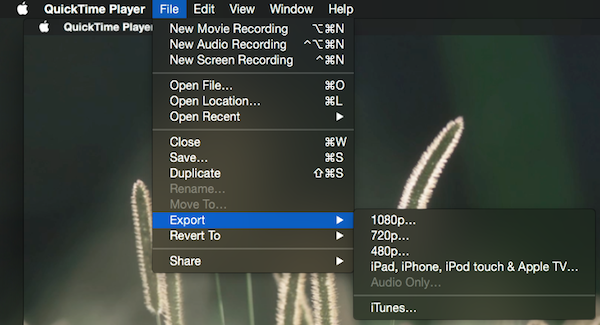
Step 6: To save your video go to File> Export> “Select your desired resolution”.
Step 7: That’s all! Now you can share your video anywhere.
Find any difficulty?
Feel free to ask in comment.
We will be glad to help you. Enjoy and Stay Techie…