Hey everyone, I hope you are doing good. Let’s go ahead and improve our JSON Parse Xcode project and add some more features to it. This article will teach you how to grab image URL and show it into the view controller and open a segue view controller if the user clicks on one of the cells in the table view.
First, of everything, we would require grabbing album art from the JSON response that we get from the Spotify API. It gives the album details as an album object and then images array in it. The images array consist of multiple sizes and have data like URL, width, and height. You can choose whichever you think the best from the array but for this article, we would choose the second one that is smaller in size and aspect ratio too. One critical thing to mention is that don’t forget to update your OAUTH token in headers array because that might have been expired if you are following this article one day after you created the token. If you don’t do it then you won’t be able to receive any JSON response from the Web API itself. The following link is to the GIT branch that has all the updates that we have mentioned in this article.
Please follow the steps listed below to add mentioned feature to your project. Feel free to ask your queries or any error that you are not able to solve during the implementation in the comment section below.
1) Reopen our Xcode workspace
2) Let’s edit the default cell in our table-view too have one image view and a text label as shown below.
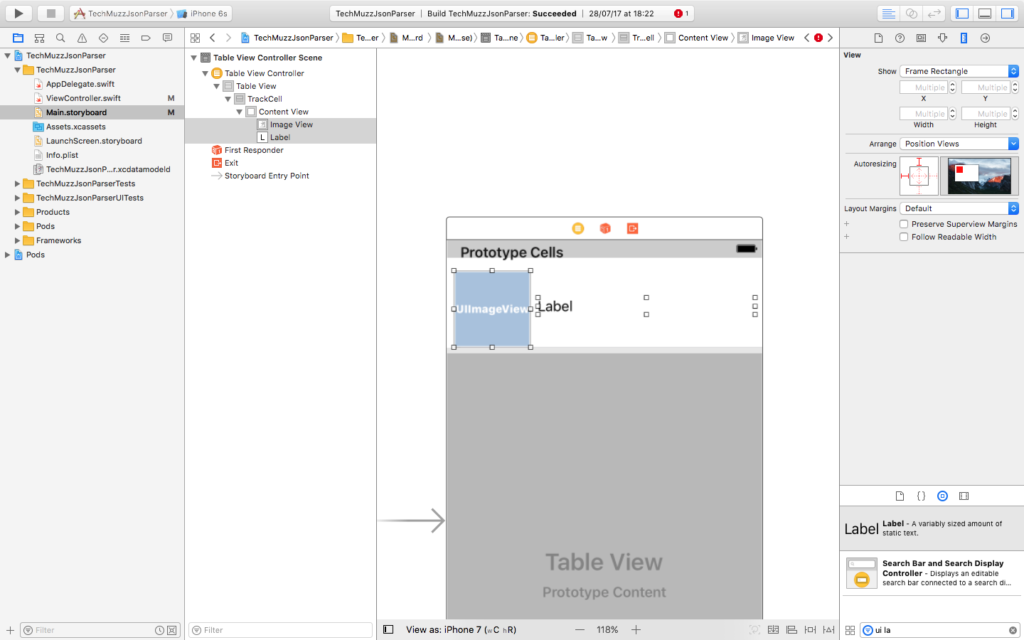
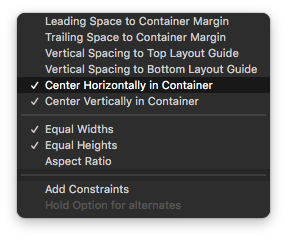
You can add constraints to the component so they look the same in appearance even though they are different actually.
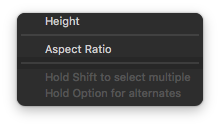
You can also set the aspect ratio equal to the thumbnail would be square in shape but it is all up to you how you want your app to look like.
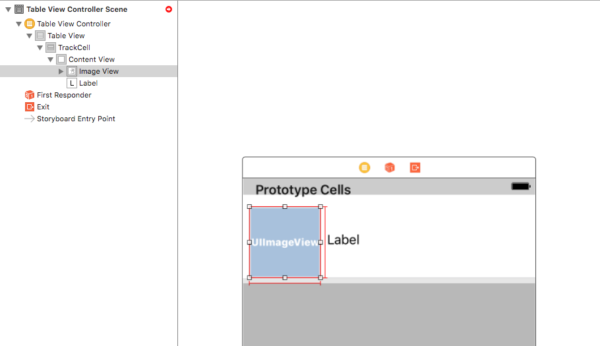
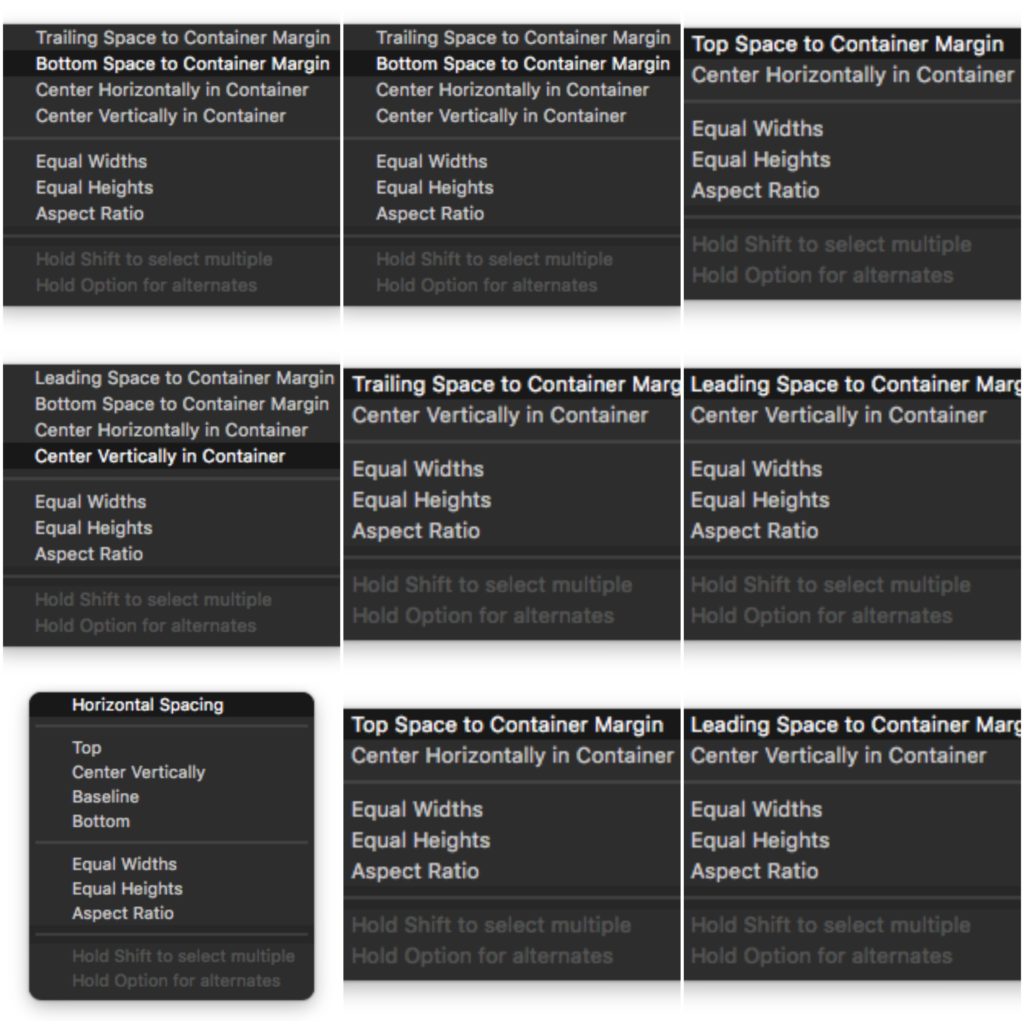
The GIT repo has all the constraints updates too if you would like to follow the same settings as ours. Some of the constraints that we have applied to the cell components are shown as below.
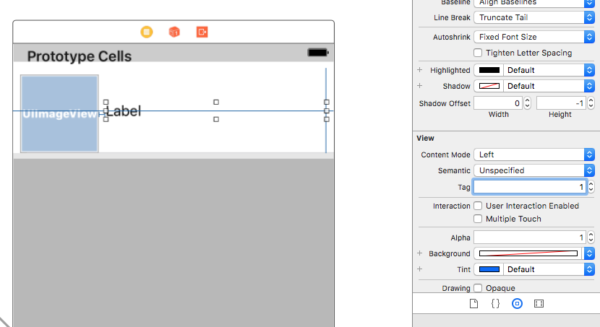
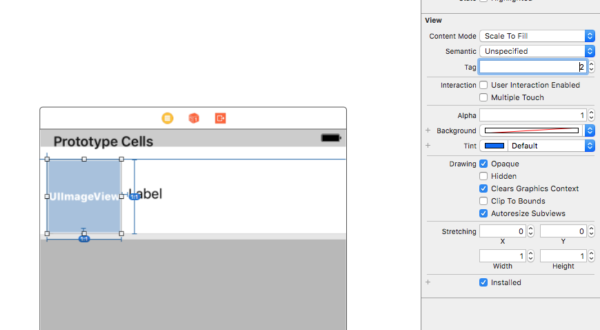
3) Add Tags too Lable and Image-view that we created as 1 and 2 respectively. By this way, we can identify them programmatically and assign values to them.
4) Now add the code after the logic of grabbing track name from the item object as mention below and show in the image too
The first line would get the album component of item object. After that, we will fetch images from that album object and image URL from the images array. you can choose different images by giving different index while accessing images array. At the end, we append the image and label to Post struct that we created to hold post values like:
To access this structure we need to modify our names array from array of String to array of Post like below.
var posts = [Post]()
Don’t worry if these changes created some errors in the code because as you need to update all the occurrences of names array with posts as you have replaced the array type and name. Please follow our updates in GIT to solve the errors.
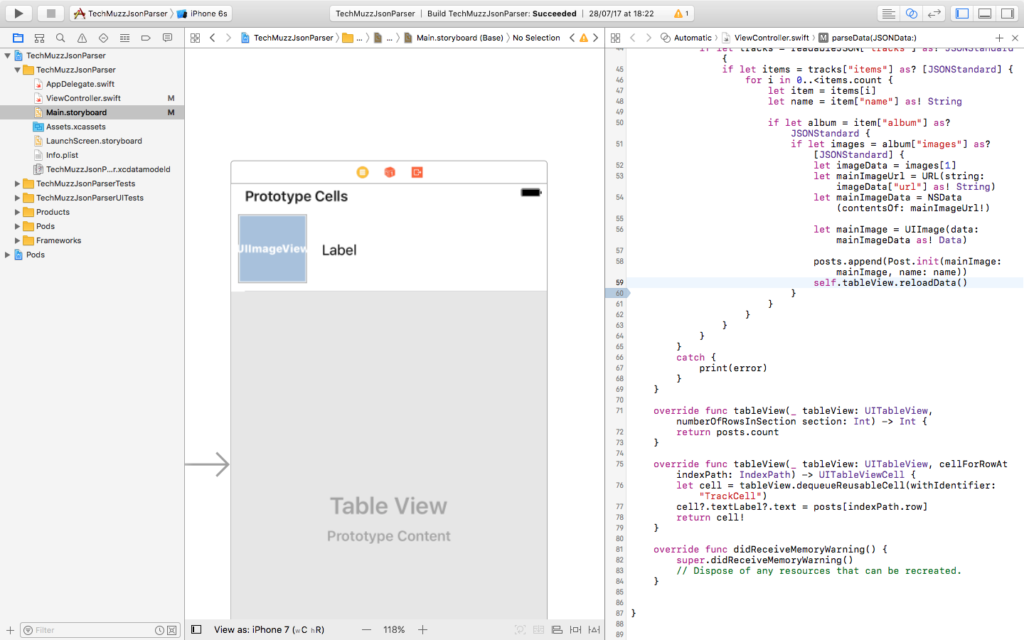
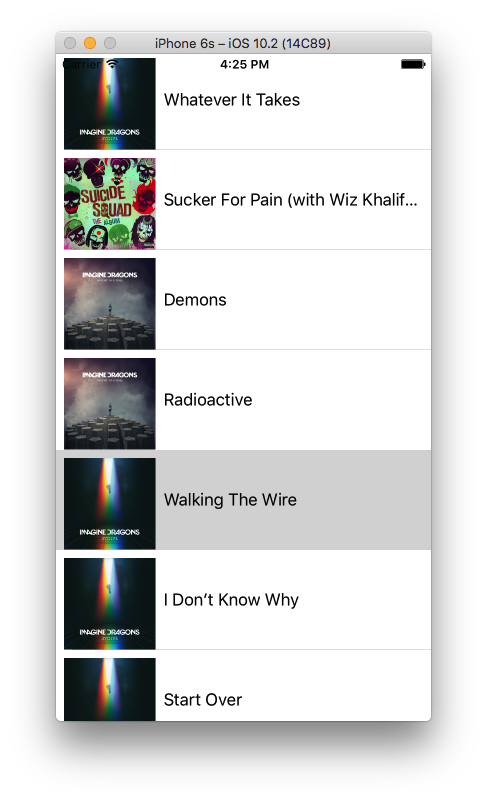
5) If you try to run the app, it would look like below. Amazing isn’t it.
6) But it won’t be able to open a detail view controller on click of a cell because we didn’t create it yet. To do that let’s add some views and update the controller. First, add a navigation controller at the beginning of the storyboard as below.
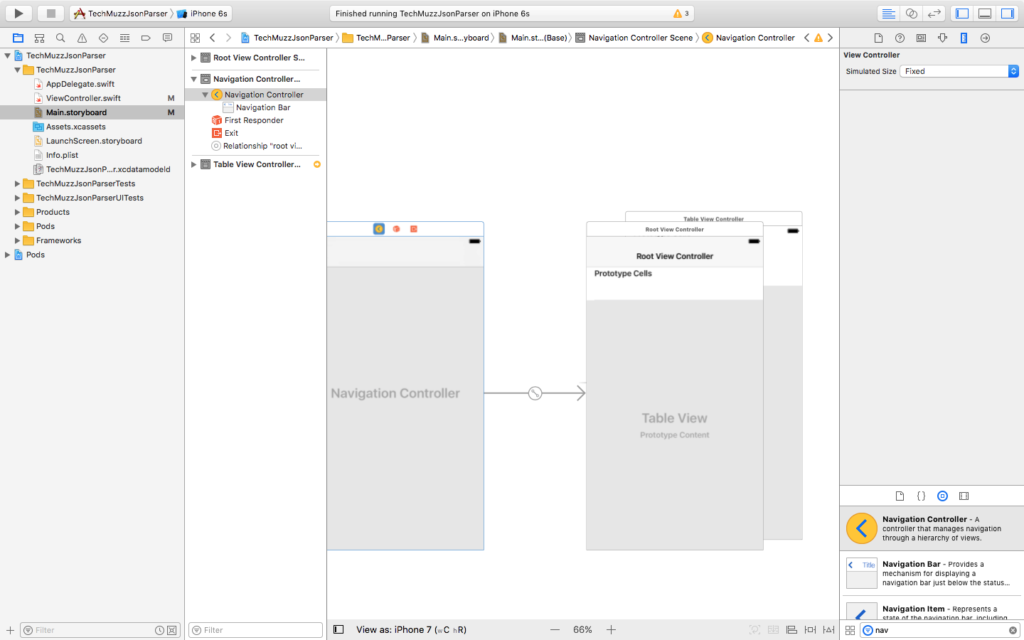
Then remove the default UI view controller and attach our old view controller to it. If you don’t know how to do it then, first select the array and controller that comes with navigation controller and delete it. Then drag a ctrl + click from navigation controller to our old controller and choose root view controller as shown below. You would have 2 arrows to
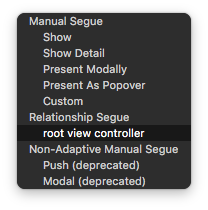
You would have 2 arrows to old view controller. Choose the simple arrow and drag it to the navigation controller, by this way the navigation controller will become the init view controller and app would start from there.

You would have 2 arrows to the old view controller. Choose the simple arrow and drag it to the navigation controller, by this way the navigation controller will become the init view controller and app would start from there.
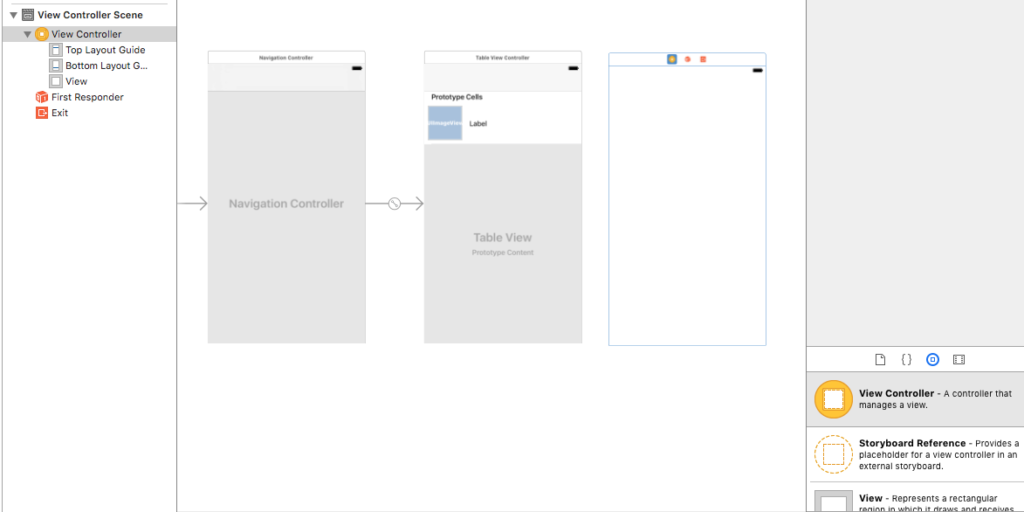
7) Add a new view controller to storyboard.
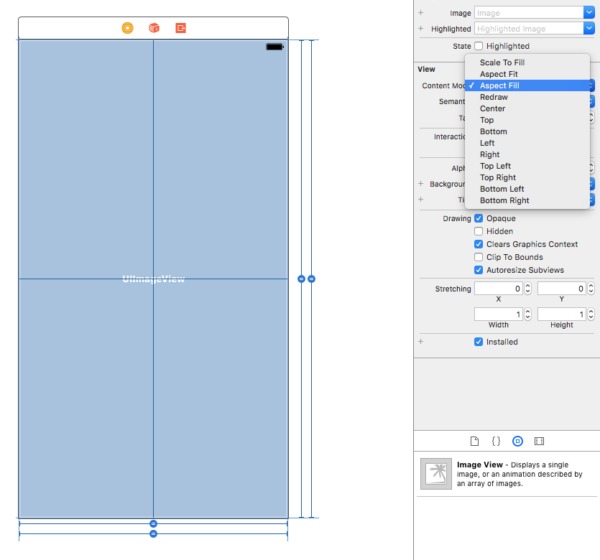
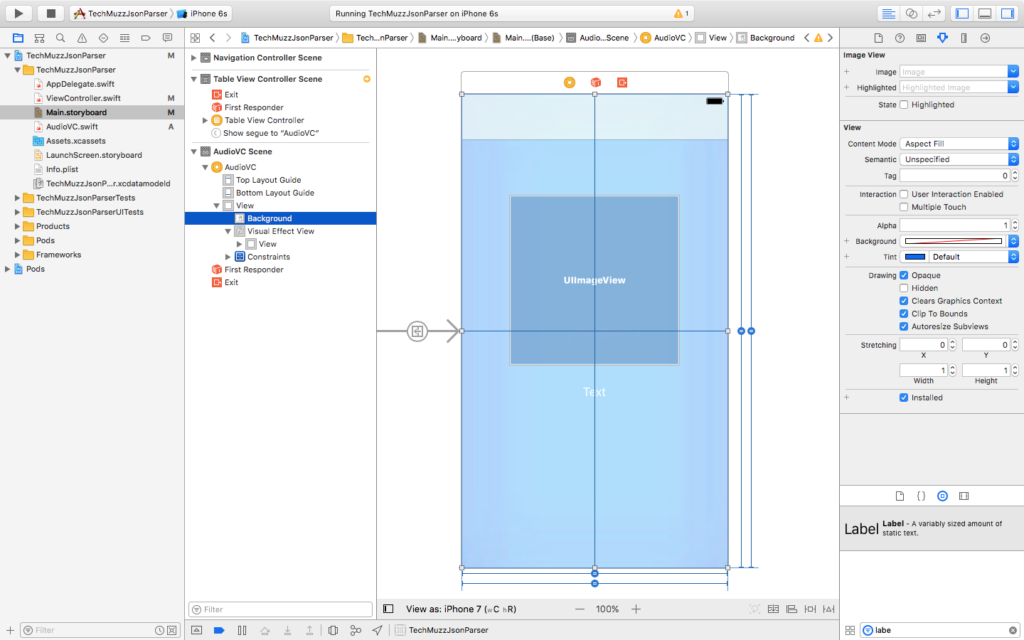
You can customize this view as you would like. Add an image-view that covers whole view controller and add constraints with respect to view controller like these:
The end result would look like below. Update the Content mode as Aspect fill to show the image as the background of the view controller.
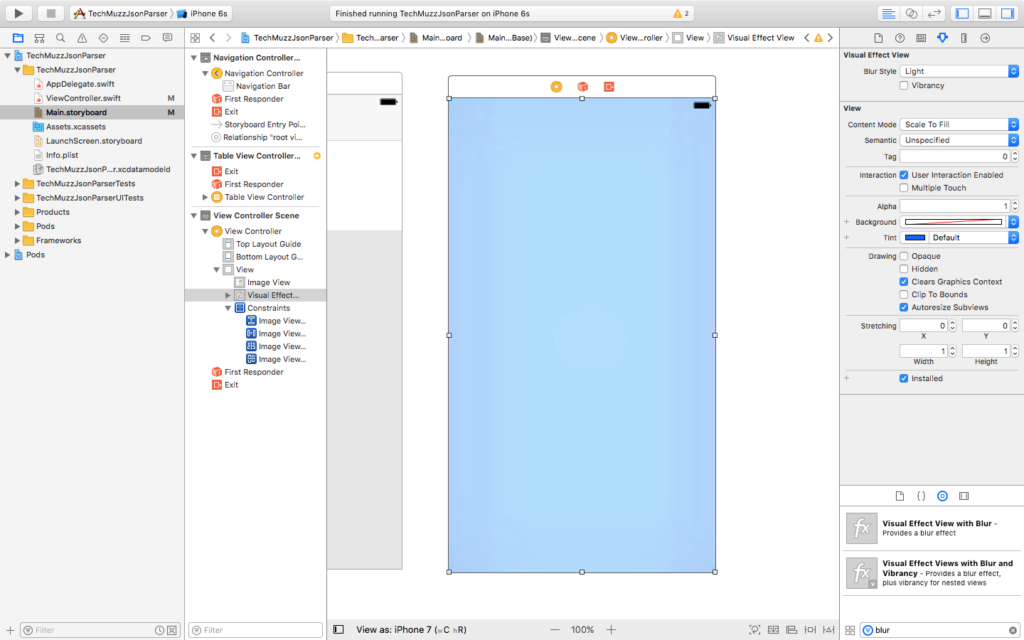
Add a visual effect with view blur and cover the whole image-view that we added recently so it would like a blur image background. You can also give some constraints so it always covers the whole background.
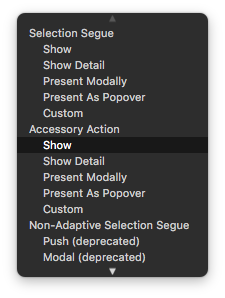
8) Let’s add segue from our table view to this new view controller by dragging ctrl + click from cell to the new controller and select show from the options menu.
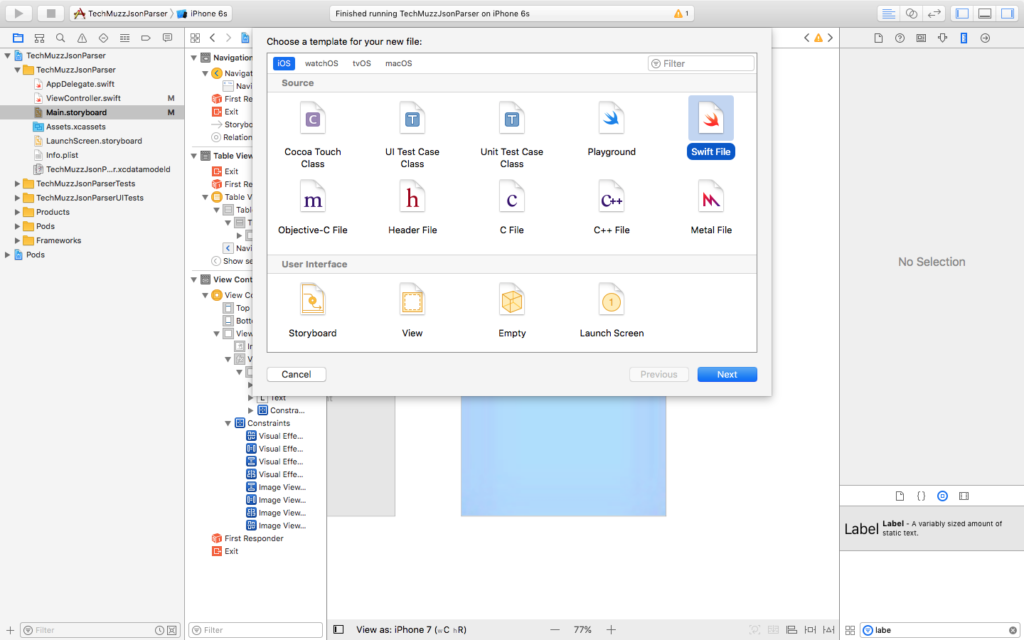
9) Let’s add one more class AudioVC that will controller action and components into our new view controller. Create a new swift file from File > New > File
Add One image view and label that we would use to show song information in the detail view controller.
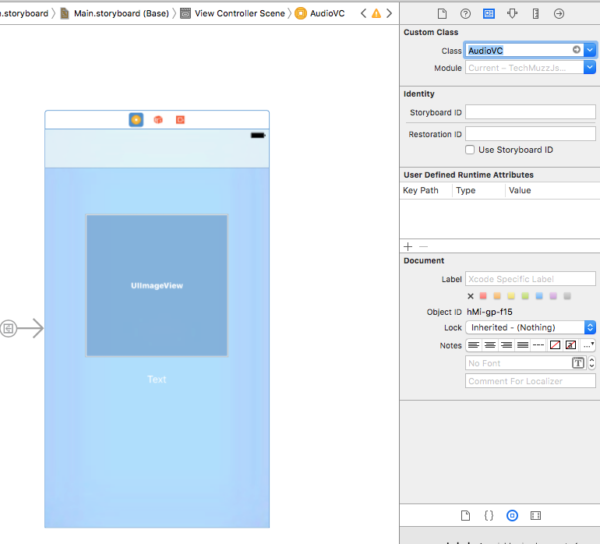
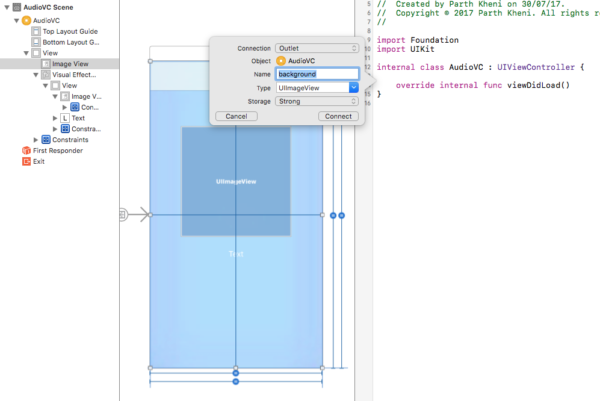
Update the class of new view-controller in the storyboard to newly created class (AudioSwift). Create new outlets into AudioVC class using assistant editor so we can access the controller component programmatically.
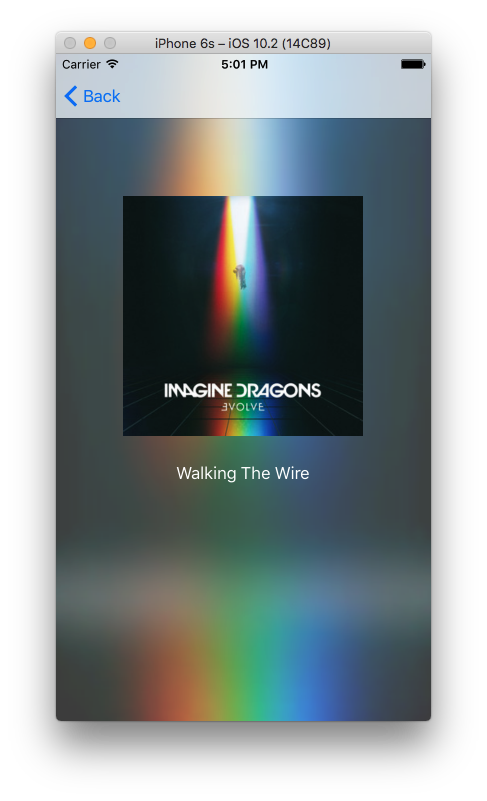
10) The final result would look something like this.
11) There is one thing that should be done before we wrap this article. If you have noticed that some extra image when you try to go back from detail view controller to table view. To cut the extra background image. Enable Clip to bounds under view > drawing as shown below to solve the issue.
12) That’s about it 🙂
Please feel free to ask any doubts or queries that you might have faced while implementing the above steps in the comment section below. We would be glad to help you.
Thank you and Stay Techie…