I bet your Mac does not boot up as quickly as the day you used it for the first time. This happens as the computer becomes clogged up with applications that install various startup processes and hence more disk space is used up, which over time leads to bad system performance.
The same is the case with Mac. Perform these simple checks to make that the performance of your Mac does not deteriorate.
1. Remove Unwanted Startup Items
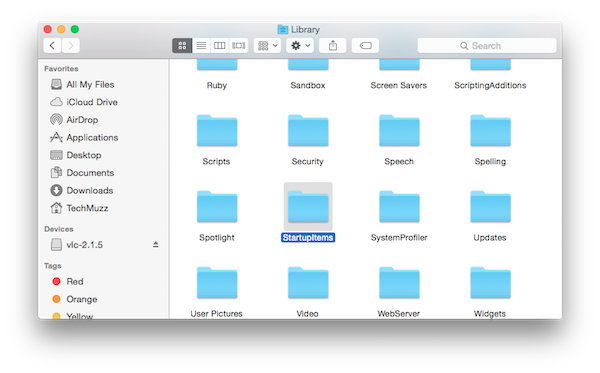
There are a large number of system startup applications and daemons which run when the system boots. You can locate these applications in the folder /Macintosh HD/Library/StartupItems/ This folder is usually hidden.
- So press SHIFT + COMMAND + G from Finder and type in the path above to view the folder.
- Move any of the items which you feel are not necessary to start during the boot process in some another folder. (Do not Delete any items, just in case you end up deleting some critical and important applications)
- Now, reboot and check to see whether the startup time has improved.
2. Remove Unwanted Startup Fonts
Mac and all Apple products are known for their appealing look and feel they provide as an user interface. But these fonts and styles may also be responsible for slowing down your Mac. So we need to remove them.
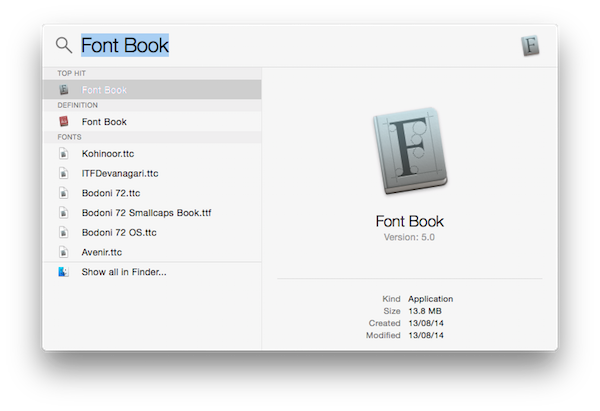
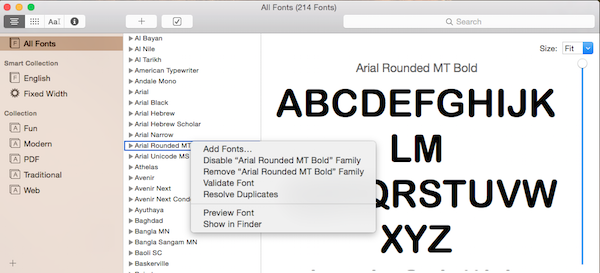
- Open Font Book from the Applications folder
- Select fonts you think are not need or are problematic
- Right-click and select Remove <font> or Remove <font> Family ( You need to be extra careful here, because if you delete some essential fonts, it may affect the normal display.)
3. Remove Unwanted Login Items
Removing unnecessary login items will let you see your desktop more quickly once you’ve logged in as normal.
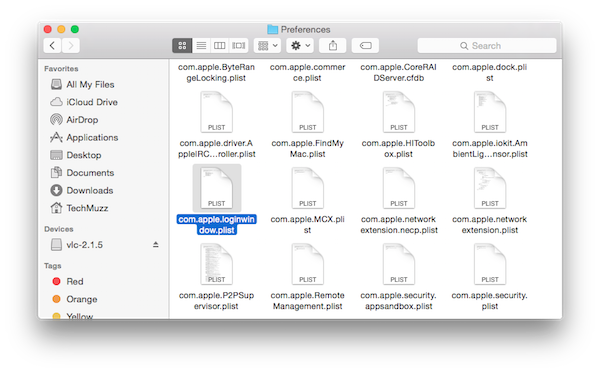
We recommend the to take a copy of the login items preferences file first, which is at ~/Library/Preference/com.apple.loginwindow.plist before you proceed to the steps below:
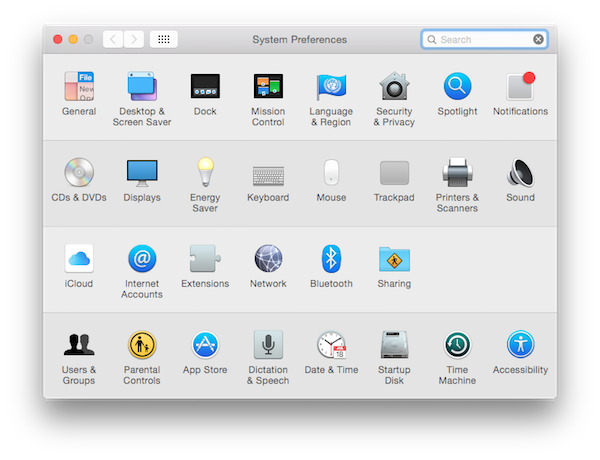
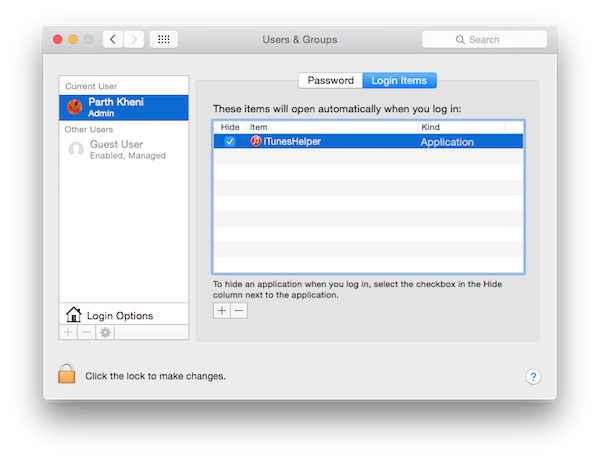
- Open System Preferences and select Users & Groups
- Click on your user name from the left window pane
- Select Login Items button from the right hand side
- Remove any items (such as iTunesHelper) from the list and press the “-“ button you see at bottom.
4. Use Automatic Login
This step is advisable only if you are the sole user of the Mac and are using it in a safe environment where no one can trespass your information. (Skip this step if this is not the case.)
To skip the login screen and login automatically at startup follow these steps:
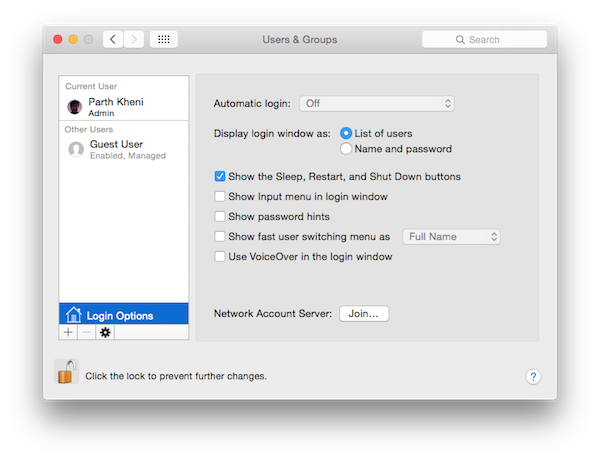
- Open System Preferences and select Users & Groups
- Select Login Options from the left side pane
- Select the user account from the drop-down box labelled Automatic login
5. Upgrade to an SSD or Faster Hard Disk
Mac can read files and data from Solid State Storage (SSD) much more quickly compared with a traditional magnetic disk because the random access time for an SSD is typically around 0.1 milliseconds, compared to a traditional hard disk which takes about 6-10 millisecond.
(The MacBook Air comes equipped with a fast SSD). However, upgrading to SSD’s is going to cost you a fortune, but it surely is one of the best ways to improve Mac’s overall performance.
An alternative and cheaper option is to change your Mac’s default hard disk (likely a 5,400 rpm model) with a faster hard disk ( 7,200 rpm unit) which will allow your Mac to load applications quickly.
6. Disconnect Unused Peripherals
You might have printers or scanners attached to the Mac even though you haven’t used them for weeks. These peripherals have been known to cause slow startups.
Hence, we recommend to disconnect any device that you are not planning to use immediately and connect only when needed (don’t forget to disconnect again 😉 )
7. Disable Network volume auto mounts
This basically means that when your computer starts it won’t automatically try to recognise the available network and thus help in improving startup time.
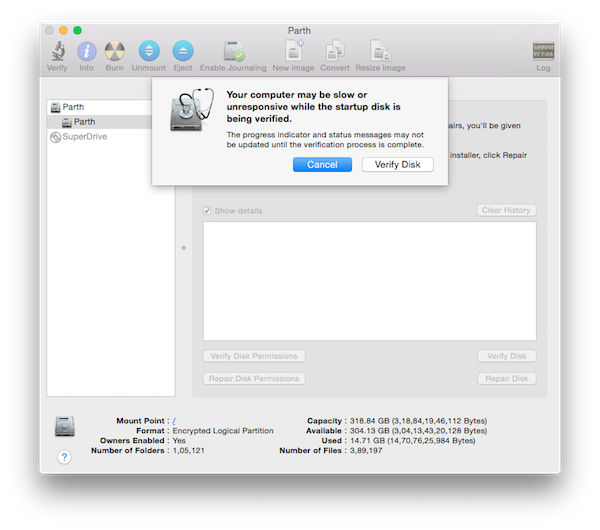
7. Use Disk Utility to Verify Your Hard Disk
Errors on your Mac’s disk may not only effect the startup time but will also hinder the performance of general operations. Therefore it is advisable to check the disk and fix any errors using Disk Utility as follows:
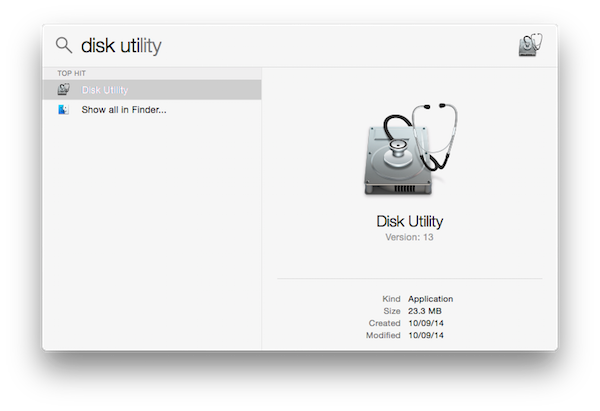
- Open Disk Utility from Spotlight or within the Applications / Utilities folder
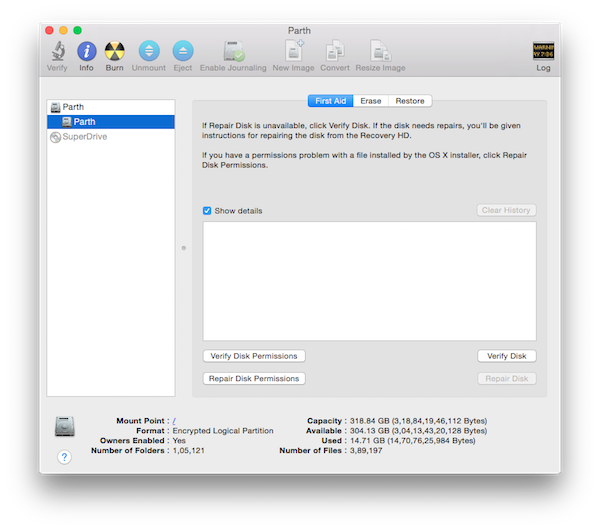
- Select your Macintosh HD from the left pane
- In the right window pane, click Verify Disk. Mac OS will check for errors and display a short report.
- If there are any problems, Select Repair Disk option
8. Check System Health periodically
As a regular health checkup is advisable for human beings to maintain a good health, the same is recommended for Mac.
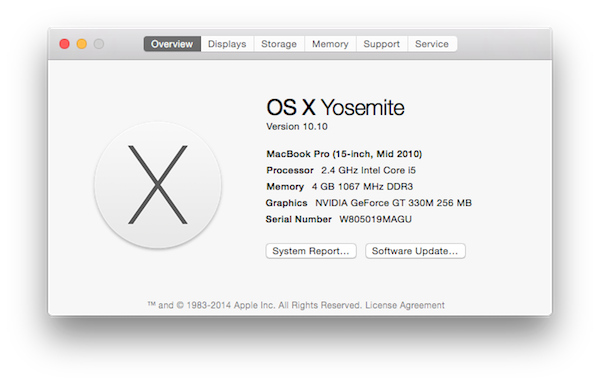
- Go to the Apple Menu and select About This Mac
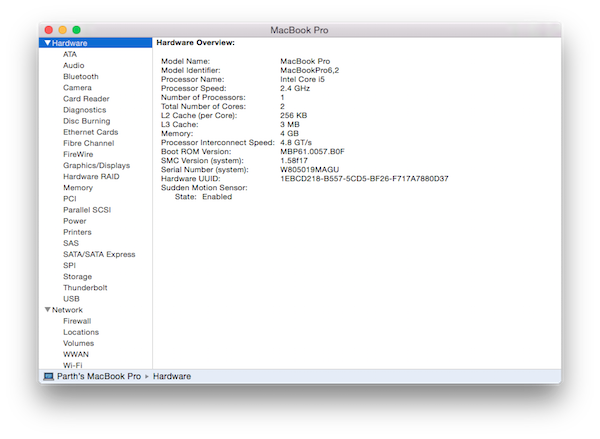
- Choose System Report to list your Mac hardware.
- Here you would see the status and properties of all the installed components and issues that might be a cause for concern.
And last but not the least, it is essential to keep your Mac up to date with the latest system updates, as Apple issues regular fixes for common problems. Check your system health periodically.
