Security is the prime concern when a PC/laptop has more than one user. You might want some privacy or want to protect your personal data from others so might have made a new account for your own. But now you want to lock it up in such a way so that no one can open it. Yes, of course, you can ‘Password protect’ your accounts, but we thought to bring to you some cool and geeky tricks.

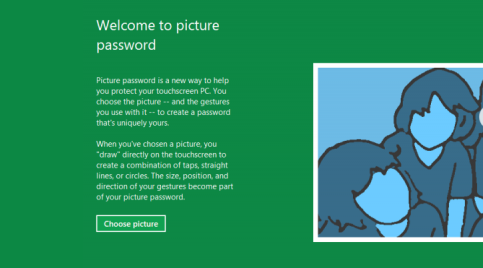
As Windows developers added Picture Password it made locking and securing our account easily and more efficiently as no one would identify what to do with the picture.
This post tells you how to set or change Picture Password in Windows 8 or 8.1. They both share the same settings so no worries.

Adding a picture password in Windows 8 is very easy. A step by step guide is given below to help you set a picture password. If you are aware of Windows 8 then you can skip first 4 steps by finding “Sign-in options” in Search column which could be easily opened by Ctrl + Q.
1. Press Windows + I to open the Settings window.
2. Click Account from the list
4. Further click Sign-in Option from the left sidebar
5. It will ask you for your account password. Enter and Click OK.
6. Select an option from the left menu to select one photo
7. If you select Choose new picture then Photo gallery opens
8. Now click on the photo for 3 times to set the password. It will ask again for confirmation so insert same click pattern again.
9. Click Finish. That’s all.
Now if you want to change the picture in the picture password then you have to click change rather then add picture password.
Ask questions in the comment section below if you find some difficulties.
Enjoy and Stay techie 😉